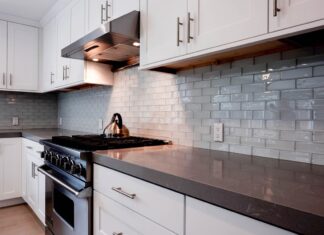
How paint can bring old cabinets back to life
Sure, we remember when our kitchen cabinets looked new. But years passed and aging wasn’t kind to their condition. It doesn’t matter if they were shaker or euro style cabinets, or even RTA’s that we put together ourselves. Now they’re somewhat shabby. They are scratched and dented, and it’s been quite some time since they’ve even been wiped clean. They seem pretty much beyond redemption at this point.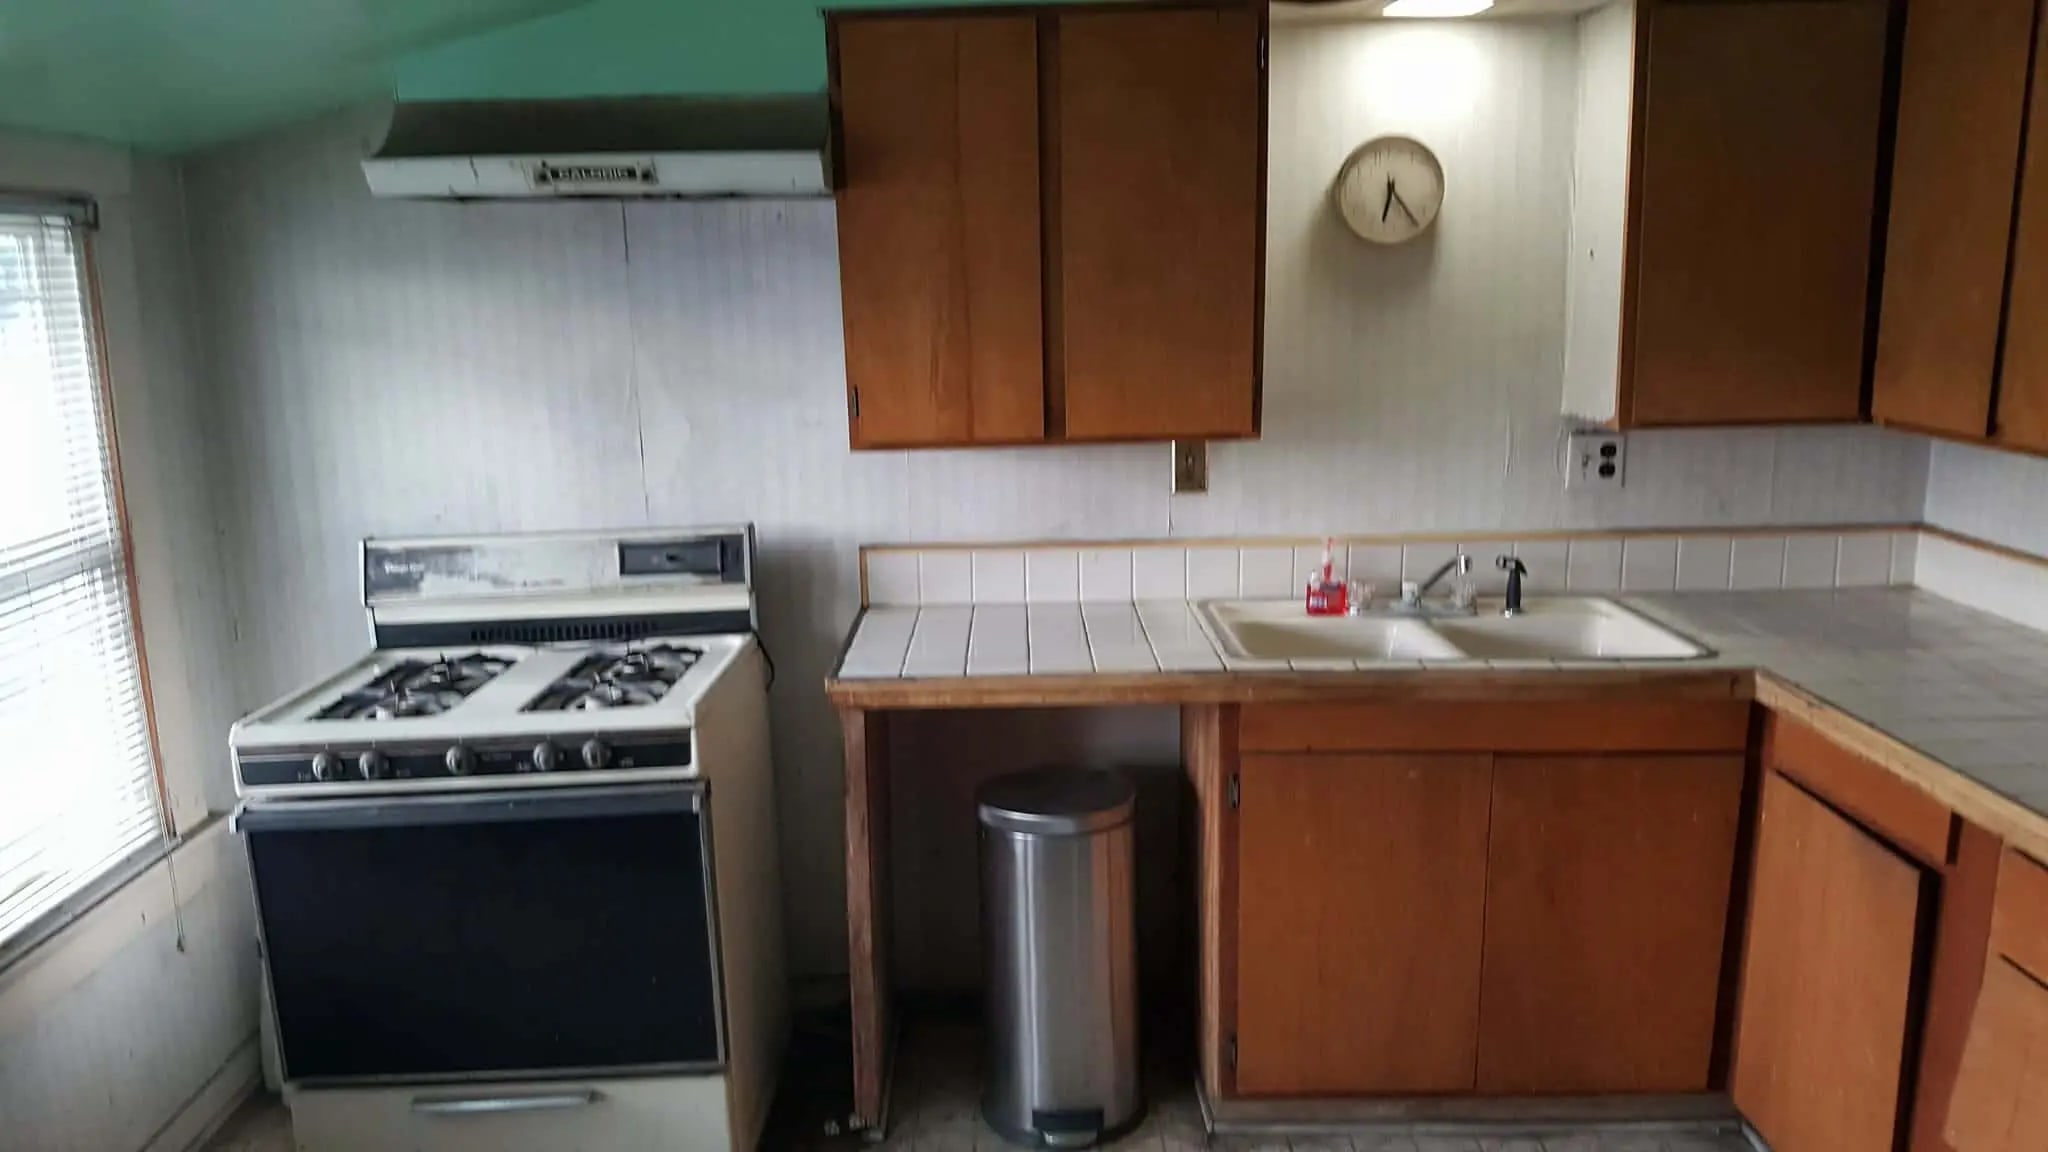
So, you have a choice. Leave them and curate a dilapidated environment or do something to curb the deterioration. As far as you’re concerned the cabinets’ wood is still sturdy, it has life. That’s fine because all you need to revitalize them is a fresh coat of paint. It’s easy, and we’ve got the info on what paint works, what color is best and how you can do it yourself.
The main reason we’re choosing this route is because you believe those kitchen cabinets are still in good condition. That’s fine, but the first thing we need to do is confirm that they are in fact in a well enough state to repaint. If they are warped, cracked, or chipped there is a good possibility that they need to be replaced. Keep in mind, for our products, we do have a limited lifetime warranty and a two year warranty on drawer faces and cabinet doors. However, if they prove to be in sufficiently good condition, it’s a great idea to proceed with giving them new life by painting them.
Picking A Color
You’re dealing with the kitchen, a room that hosts an abundance of people. It should be accommodating and inviting. In fact the entire house should reflect the warmth and hominess of the kitchen, as a general rule. To help establish this influence, the use of neutral paint such as white, beige and gray on the kitchen cabinets is ideal.
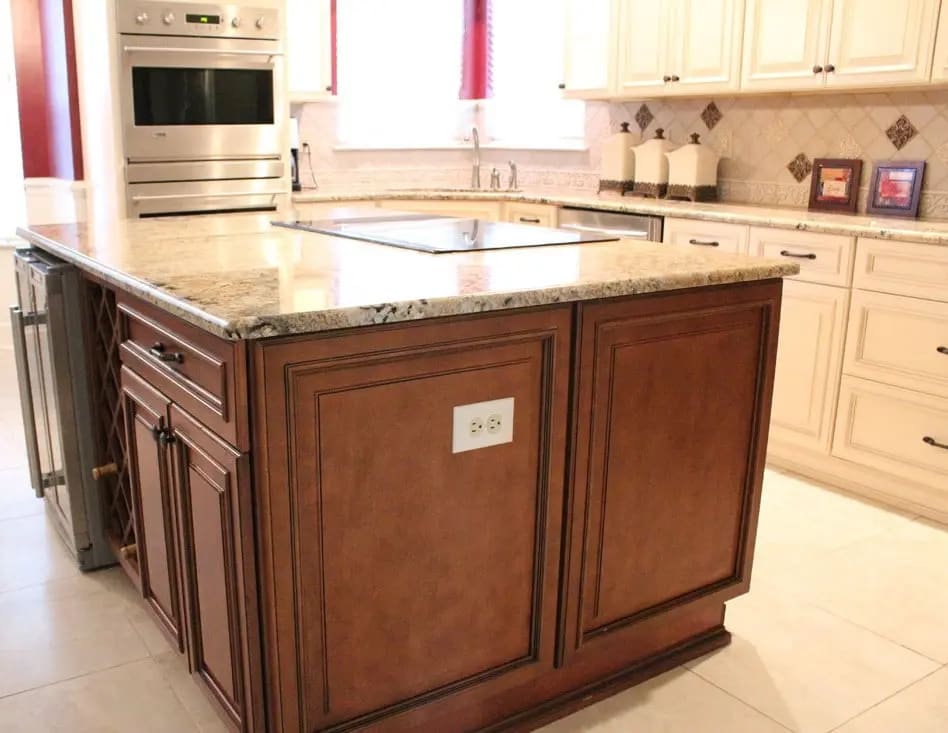
If you have a kitchen island to work with, it can provide a great opportunity to introduce dynamic contrast to the room. You can paint it whatever shade you feel will produce the ideal reflection of your style. The color of your cabinets can be bright, moody, whatever works! Most certainly the island has a strong chance of becoming the room’s focal point. You may also consider two tone options, combinations that can be used to continue the contrast. In such cases, with the two tone color designs it is important to anchor the room by putting the darker of the two colors on the bottom cabinet always. It’s a dramatic look in relation to the upper cabinets of a lighter shade.
Now that you’ve picked your colors, it’s time to move forward – and face the greater challenge. It requires time and patience, so be certain you have those in supply before you undertake the project of painting your kitchen cabinets. It’s going to save you money so it should be quite rewarding, literally. Besides the pride you’ll feel, you will also save a few bucks. So here’s what needs to be done to get those cabinets looking fresh and new.
Removing The Cabinets
You need to protect the area by prepping the kitchen. You don’t want paint to drip everywhere and create new problems by having to remove it from floors and countertops. Use cardboard, plastic or cloths and drape them over all of the areas in the vicinity of where you are working.
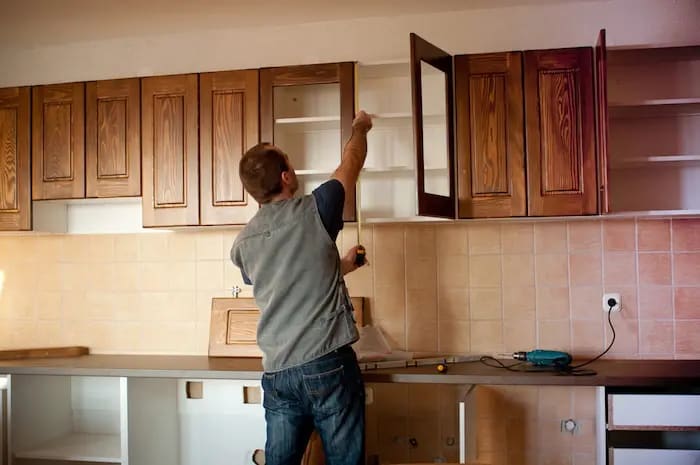
Next it’s time to dismantle the cabinets. Use a basic screwdriver to remove the doors and hardware (knobs, hinges, latches…). It’s easy to mix everything up at this point, so use whatever system works for you to keep it all organized so you’ll have no question what belongs with what when it comes to reassembling (you can just use a pencil and mark them to correspond).
Prepwork and Painting
With everything apart, give it all a thorough cleaning. There could be all sorts of gross matter attached to them as a result of all the cooking grease exposure they endure. You could simply add a few drops of dish detergent to a half bucket full of water (a couple tablespoons of vinegar will also work in lieu of detergent).
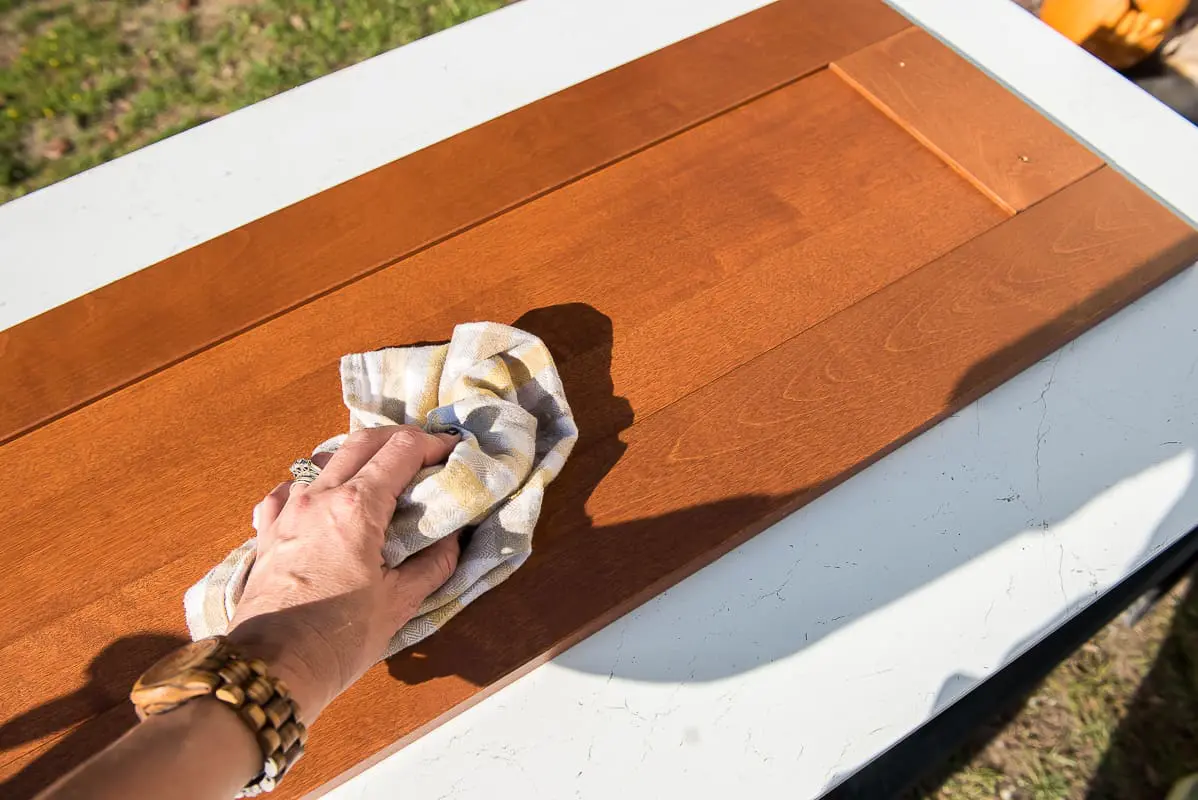
Choose a fine grit sandpaper and sand the surfaces of the cabinet until they are as smooth as you can get them. It’s not necessary to work down to the bare wood as its okay for some of the original finish to remain. Next, with a clean tack cloth, clean the cabinets to leave no residue and to ensure there is no dust left behind.
Now it’s time to paint. First, the cabinet doors and sidings require a coat of primer sealer. This is used to ensure the paint bonds to the wood. For best results, use a shellac or oil based primer. They’re both effective at keeping original dark wood from showing through. Apply a second primer coat, if necessary. When it comes to applying the actual paint, be certain to use a proven premium quality brand (that’s available in many finish options). It’s a bit pricey, but with it (and necessary if you’re doing DIY because you don’t have a warranty for the work and you want it to last).
Now, the moment of truth – repaint the cabinets with a brush. Then follow up with a foam roller and clear away any brush marks. If you have a pro spray gun, by all means, utilize it! These tasks must be performed outdoors – if the fumes were trapped in your home there could be dangerous circumstances.

Final Touches
After the paint is completely dry, retrieve your trusty screwdriver and reattach the doors and reinstall the drawers. Then screw all of the hardware back into place (hopefully you have it organized as advised). The end result is essentially the result of what you put into it. The more extreme care you applied, the more attractive the cabinets will appear.
Congrats! You actually managed to bring your dull old kitchen cabinets back to life! If that doesn’t seem to do the trick, you may need to do some additional work to revamp your kitchen in an affordable fashion.


