by Dillon B. (additional writing by Ryan O.)
Moving a surface mounted electrical box appears to be a job that is outside the ken of most do-it-yourselfers. However, this project can be done in just six steps as long as you take the proper precautions and preparations.
Things you need to do this job right:

- Wire stripper/cutter
- Screwdriver
- Colored electrical tape
- Permanent marker
- CAT 12 Romex electrical wire (if you are transferring the box to a farther location)
Step one – Turn off power at the Junction Box
You will find the switch to connected to your particular junction box in the breaker box of your house. Power this off to stay safe on the job.

Step two – Dismantle the Junction box
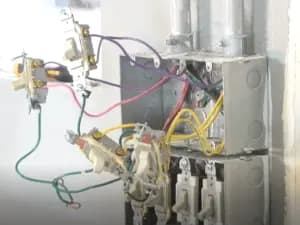
Use your screwdriver to remove the front plate and unscrew all the switches from the casing.
Then cut the wires that connect the switch.
In our example, our technician marks each pair of electrical wires with colored tape and numbers them with a permanent marker to keep track of them. The technician also labels the switches that correspond to those wires. This will organization will make things easier when you have to reattach these wires to the new electrical box.
Step three – Find the source and pull the wires
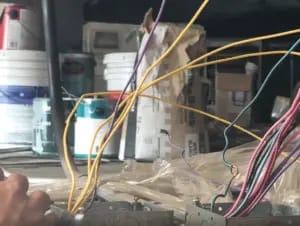
At the house exterior or in your attic, you will need to find the junction box that is the source of the wires. In our example, the electrical wires (or romex wires) went through the hole that was drilled through the top plate or header beam.
From the ceiling, the loose wires were pulled out through the source junction box.
With the wires out of the way, you are free to remove the junction box and the metal conduits (the pipes) attached to the box.
If you need to lengthen the wires to for the power source to reach the new location, you can splice the wires with more romex wire; CAT-12 romex wire is the standard used in most residential areas.
Step four – Reinstall metal conduit and junction box
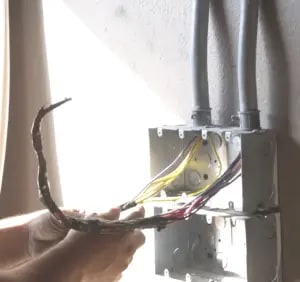
When you have determined the new position of the surface mounted multi-gang electrical box, install the metal conduit first, drilling any new holes that are needed through the studs for the installation. Then install the frame junction box to the pipes of the conduit so that you have something to attach to.
Make sure the box is level and mark where the anchor screws will go.
Feed the wires back through the conduit; if you tape the wires using electrical tape to make the bundle more narrow, it will be easier to feed through the pipes.
Then pull out the wires through the installed junction box.
Step five – Reinstalling the wires and switches
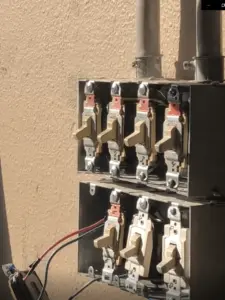
After unbunching the wires that you put through the conduit, take wire strippers and strip the casing from the wires. If you labeled everything in the beginning, you can match the wires to the corresponding switches.
Step six – Finish it up!
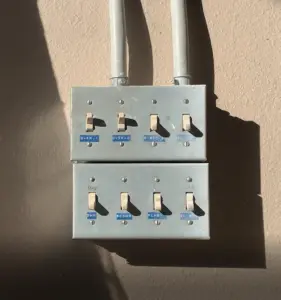
With all of the switches in place, replace the switch cover. Turn the power back on from the breaker box and the transition is complete!
For more remodeling tips from Dillon in his Home Remodeling series, check out our other DIY videos on Best Online Cabinets!


